 Sweden - SEK
 Austria - EUR
 Belgium - EUR
 Bulgaria - EUR
 Cyprus - EUR
 Czech Republic - EUR
 Estonia - EUR
 Greece - EUR
 Hungary - EUR
 UK - GBP
 Ireland - EUR
 Latvia - EUR
 Lithuania - EUR
 Luxembourg - EUR
 Malta - EUR
 Netherlands - EUR
 Norway - NOK
 Portugal - EUR
 Romania - EUR
 Slovakia - EUR
 Slovenia - EUR
 Switzerland - EUR
Replace cutting motor Automower 420, 430X, 440 eller 450X
In this guide we will show you step-by-step how to change the cutting motor of your Automower 420. The same procedure applies to Automower 320, 330X, 430X, 440 and 450X.
A defective cutting motor will lead to an error code 'Cutting system blocked'
On the bottom of this page you will find the correct OEM spare parts that we use for this replacement.
Required tools: Torx screwdriver T20, allen key size 5.
-(1).jpg) Step 1: Turn your Automower upside-down and disconnect the charging contacts. Step 1: Turn your Automower upside-down and disconnect the charging contacts. | .jpg) Step 2: Remove the chassis. You do this by pulling the chassis upwards with one hand while keeping the Automower in place with your other hand. Step 2: Remove the chassis. You do this by pulling the chassis upwards with one hand while keeping the Automower in place with your other hand. |
-(1).jpg) Step 3: Unscrew all of the Torx screws as the image above shows. A total of 14pcs. | -(1).jpg) Step 4: Lift off the upper part of the body and disconnect the white flat-cable that is connected to the motherboard. |
.jpg) Step 5: Unscrew the three torx-screws that is marked in the image. | .jpg) Step 6: Remove the cover and the skidplate. Now unscrew the center screw with an allen key. |
.jpg) Step 7: Remove the bearing holder and unscrew the three torx screws which holds the cutting disc. | .jpg) Step 8: Remove the cutting disc from the cutting engine axle and remove the four marked torx screws. |
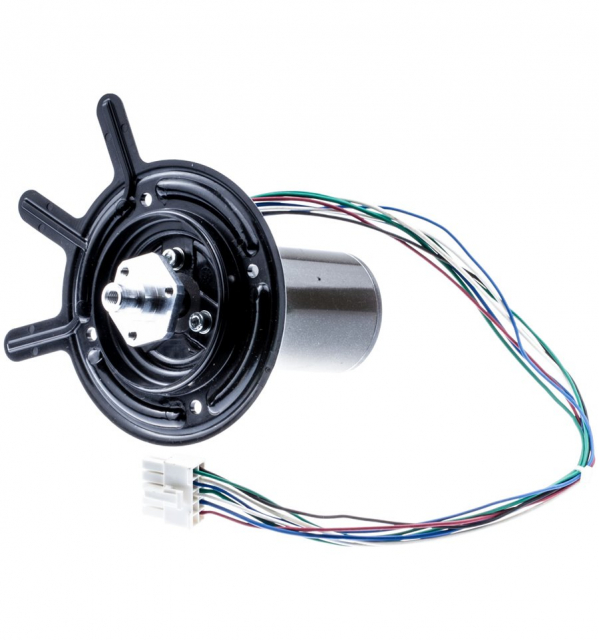
.jpg) Step 9: Disconnect the cutting motor from the motherboard as shown in the image. | .jpg) Step 10: Now remove the cutting engine from the lower body. |
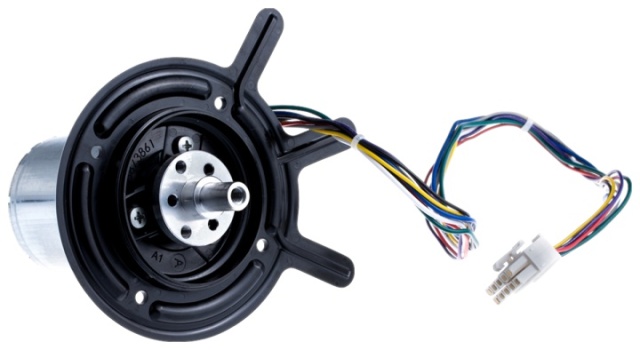
.jpg) Step 11: Install the new cutting motor and tighten the four torx screws. | .jpg) Step 12: Connect the cutting motor to the motherboard. |
Step 13: Re-install the cutting disc and tighten the three marked screws. | Step 14: Re-install the bearing holder and tighten the center screw. |
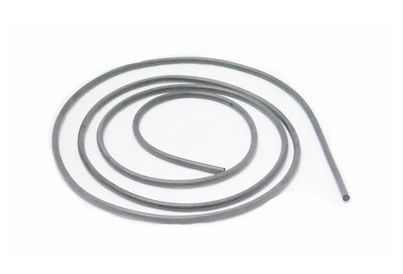
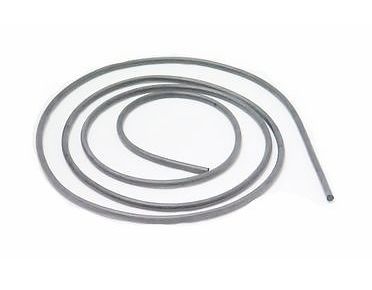
Step 15: Re-install the skidplate and its cover and tighten the three marked screws. Double check that the skidplate rotates freely. | .jpg) Step 16: Connect the white flat-cable from the upper body to the motherboard. Note! Don't forget to change the sealing between the upper and lower part of the body. |
Step 17: Tighten all 14 Torx screws around the upper body. | Step 18: Re-install the chassis and finally connect the charging contacts. |
Spare parts used (420, 430X, 440, 450X)
For 320 / 330X
Replace cutting motor Automower 420, 430X, 440 eller 450X
In this guide we will show you step-by-step how to change the cutting motor of your Automower 420. The same procedure applies to Automower 320, 330X, 430X, 440 and 450X.
A defective cutting motor will lead to an error code 'Cutting system blocked'
On the bottom of this page you will find the correct OEM spare parts that we use for this replacement.
Required tools: Torx screwdriver T20, allen key size 5.
| Step 1: Turn your Automower upside-down and disconnect the charging contacts. |
| Step 2: Remove the chassis. You do this by pulling the chassis upwards with one hand while keeping the Automower in place with your other hand. |
Step 3: Unscrew all of the Torx screws as the image above shows. A total of 14pcs. |
Step 4: Lift off the upper part of the body and disconnect the white flat-cable that is connected to the motherboard. |
Step 5: Unscrew the three torx-screws that is marked in the image. |
Step 6: Remove the cover and the skidplate. Now unscrew the center screw with an allen key. |
Step 7: Remove the bearing holder and unscrew the three torx screws which holds the cutting disc. |
Step 8: Remove the cutting disc from the cutting engine axle and remove the four marked torx screws. |
Step 9: Disconnect the cutting motor from the motherboard as shown in the image. |
Step 10: Now remove the cutting engine from the lower body. |
Step 11: Install the new cutting motor and tighten the four torx screws.
Step 12: Connect the cutting motor to the motherboard. |
Step 13: Re-install the cutting disc and tighten the three marked screws. |
Step 14: Re-install the bearing holder and tighten the center screw. |
Step 15: Re-install the skidplate and its cover and tighten the three marked screws. Double check that the skidplate rotates freely. |
Step 16: Connect the white flat-cable from the upper body to the motherboard. Note! Don't forget to change the sealing between the upper and lower part of the body. |
Step 17: Tighten all 14 Torx screws around the upper body. |
| Step 18:Re-install the chassis and finally connect the charging contacts. |
Spare parts used (420, 430X, 440, 450X)
For 320 / 330X
 Help center is a digital DIY manual for Husqvarna Automower robotic lawnmower. We teach you how to change batteries, circuitboards and other spare parts on your Husqvarna Automower.