 Austria - EUR
 Belgium - EUR
 Bulgaria - EUR
 Cyprus - EUR
 Czech Republic - EUR
 Estonia - EUR
 Greece - EUR
 Hungary - EUR
 UK - GBP
 Ireland - EUR
 Latvia - EUR
 Lithuania - EUR
 Luxembourg - EUR
 Malta - EUR
 Netherlands - EUR
 Norway - NOK
 Portugal - EUR
 Romania - EUR
 Slovakia - EUR
 Slovenia - EUR
 Switzerland - EUR
Change the rubber dampers on your Husqvarna Automower 105/305/308
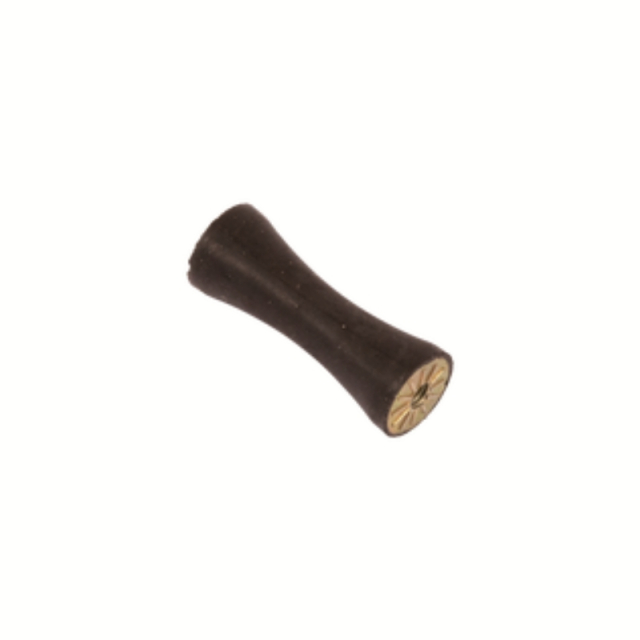
Here is a step by step guide for how to change the rubber dampers (total of 4) on the Husqvarna Automower 105/305/308 and Gardena R40/R45/R50li, among others. The dampers sometimes break when you're disassembling the robotic lawnmower due to the screws rusting. We recommend you always spray lubricating spray or put a dab of grease on the screws before reassembling the dampers to reduce the risk of rust.
Changing the rubber dampers is a simple process and doesn't require any special tools. See below for step by step instructions.
At the bottom of the page there is a list of the spare parts needed to do the job.
.jpg) Step 1: Turn your Automower over. Unscrew the three marked screws. Step 1: Turn your Automower over. Unscrew the three marked screws. | .jpg) Step 2: Carefully lift the robotic lawnmower out of the chassis. Unscrew the eight marked screws. Then lift out the rear rubber dampers in plastic casings. Step 2: Carefully lift the robotic lawnmower out of the chassis. Unscrew the eight marked screws. Then lift out the rear rubber dampers in plastic casings. |
.jpg) Step 3: Carefully lift the robotic lawnmower out of the chassis. Unscrew the eight marked screws. Then lift out the rear rubber dampers in plastic casings. | .jpg) Step 4: Unscrew all four screws holding the rubber dampers. Then refit the new rubber dampers. |
Step 5: Put the upper plastic cover back into the chassis and fasten all eight screws. | Step 6: Place the robot back into the chassis and secure with all four screws. Now you're all done and the new rubber dampers are assembled on the robot! |
Change the rubber dampers on your Husqvarna Automower 105/305/308
Here is a step by step guide for how to change the rubber dampers (total of 4) on the Husqvarna Automower 105/305/308 and Gardena R40/R45/R50li, among others. The dampers sometimes break when you're disassembling the robotic lawnmower due to the screws rusting. We recommend you always spray lubricating spray or put a dab of grease on the screws before reassembling the dampers to reduce the risk of rust.
Changing the rubber dampers is a simple process and doesn't require any special tools. See below for step by step instructions.
At the bottom of the page there is a list of the spare parts needed to do the job.
Tools used: Torx screwdriver T25.
| Step 1: Turn your Automower over. Unscrew the three marked screws. |
| Step 2: Carefully lift the robotic lawnmower out of the chassis. Unscrew the eight marked screws. Then lift out the rear rubber dampers in plastic casings. |
Step 3: Separate the chassis from the upper plastic cover. Now you can remove the front rubber dampers, which are in a plastic casing with springs. |
Step 4: Unscrew all four screws holding the rubber dampers. Then refit the new rubber dampers. |
Step 5: Put the upper plastic cover back into the chassis and fasten all eight screws. |
Step 6: Place the robot back into the chassis and secure with all four screws. Now you're all done and the new rubber dampers are assembled on the robot! |
Spare parts used
 Help center is a digital DIY manual for Husqvarna Automower robotic lawnmower. We teach you how to change batteries, circuitboards and other spare parts on your Husqvarna Automower.